How to cook thin chicken breast in the oven for tender results
As a busy working parent, I know how hard it is to make healthy meals every night. That’s why I’m excited to share how to cook thin chicken breasts in the oven. This method makes them juicy and flavorful every time. You can have a nutritious dinner ready in 15 minutes or less.
Thin chicken breasts are perfect for quick meals. They cook fast, soak up flavors well, and taste tender. They’re great for meal prep or a quick dinner.
Table of Contents
Key Takeaways
- Thin chicken breasts cook faster and more evenly in the oven
- Marinating the chicken helps lock in moisture and infuse flavor
- Baking at a high temperature (450°F) ensures juicy, tender results
- Resting the chicken after cooking allows the juices to redistribute for maximum moisture
- Meal prepping thin chicken breasts provides a healthy, versatile protein source
Understanding the Benefits of Thin Chicken Breasts
Thin chicken cutlets are a top choice for lean protein. They are versatile and efficient, appealing to health-focused people and busy cooks. These cuts offer many benefits.
Advantages of Using Thin Cutlets
Thin chicken breasts cook faster than thicker cuts. They need less time in the oven or on the stovetop. This makes meal prep quicker, perfect for those with tight schedules.
Nutritional Benefits and Protein Content
Thin chicken cutlets are packed with protein, about 30 grams per 4-ounce serving. They are great for adding lean protein to low-fat chicken dishes. Their thinness also keeps calories low, making them good for healthy meals.
Time-Saving Cooking Benefits
Thin chicken breasts cook faster and more evenly. This means quicker and more efficient cooking. It also helps keep the chicken moist and tender, avoiding overcooking.
Using thin chicken cutlets in your cooking has many benefits. They save time and are nutritious. Enjoy tasty and healthy low-fat chicken dishes easily with these cuts.
Preparing Your Chicken for Perfect Results
To get tender and tasty thin chicken breasts in the oven, you need to prepare them right. Start by slicing the chicken breasts in half lengthwise. This makes them about 1/4 inch thick. Use a sharp knife to cut from the thicker end to the thinner end.
This way, the chicken cooks evenly. It prevents it from getting dry or cooked unevenly.
Proper Slicing Techniques
When you slice the chicken, keep the knife flat against the cutting board. Move it smoothly through the meat, keeping the thickness even. Don’t saw back and forth, as it can tear the chicken. If the breasts are too thick, cut them into thinner pieces for better cooking.
Thickness Guidelines
The chicken should be about 1/4 inch thick. This thickness helps it cook evenly and stay juicy. Make sure all the cutlets are the same thickness so they cook at the same rate.
Cleaning and Patting Dry
Before seasoning or marinating, clean the chicken well and pat it dry with paper towels. Getting rid of extra moisture helps the chicken soak up flavors better. It also helps it brown evenly in the oven. This simple step greatly improves the taste and texture of your baked chicken.
“Proper preparation is the foundation for delicious baked chicken. Slicing the breasts thin and ensuring they are clean and dry sets the stage for a truly satisfying meal.”
Essential Kitchen Tools and Equipment
Cooking tender and juicy chicken breasts needs a few key tools. A sharp knife is essential for cutting the chicken into thin slices. A meat mallet or tenderizer helps pound the chicken evenly, ensuring it cooks well.
For baking, you’ll need a rimmed baking sheet or oven-safe pan. Use parchment paper or a silicone mat to prevent sticking and make cleanup easy. An instant-read meat thermometer is crucial to check the chicken’s internal temperature. It should reach 165°F (74°C) to avoid overcooking and dryness.
Other useful tools include small bowls or shallow dishes for breading. A wire rack helps the chicken crisp up. Kitchen tongs make handling the chicken easy. With the right kitchen tools for chicken and baking equipment, you’ll cook perfect thin chicken breasts in the oven.
“The right tools can make all the difference in the kitchen, especially when it comes to cooking chicken breasts to perfection.”
The Perfect Marinade and Seasoning Blend
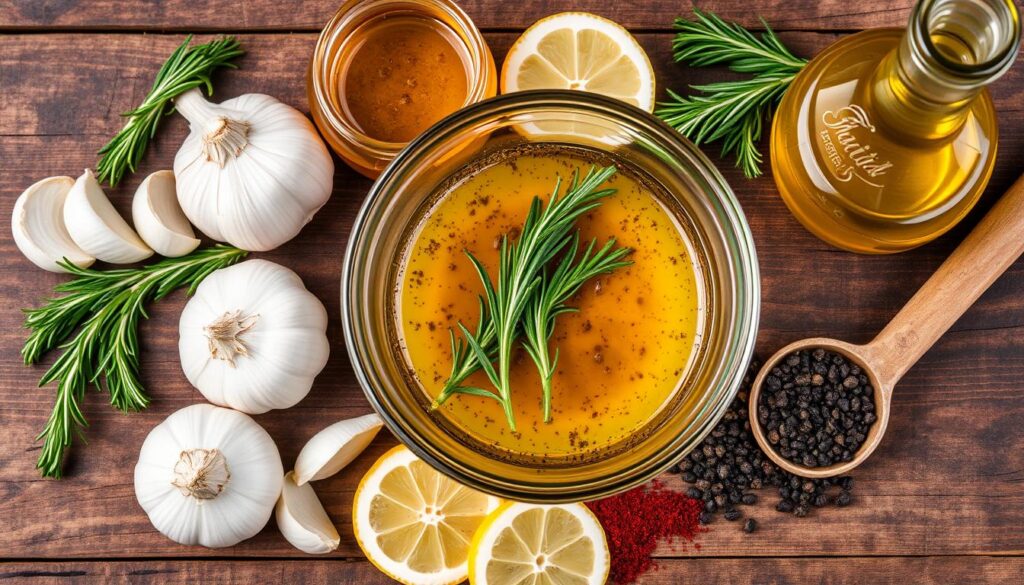
Make your thin chicken breasts taste amazing with a great marinade and seasoning. The right mix of herbs, spices, and acids can turn your chicken into a delicious meal. Let’s look at the key parts and some tasty variations to boost your chicken dishes.
Basic Seasoning Components
Begin with a basic seasoning mix that has:
- Garlic powder
- Onion powder
- Paprika
- Salt
- Black pepper
Marinade Time Requirements
For the best taste, marinate your thin chicken breasts for at least 15 minutes. Or, marinate for up to 48 hours for even more flavor. Aim for at least 4 hours or overnight for the most tender chicken.
Flavor Variations and Combinations
Try different seasoning blends for various flavors. An Italian-inspired marinade uses dried oregano, basil, and balsamic vinegar. Or, go for a Cajun-style with cayenne pepper, smoked paprika, and brown sugar. You can mix and match to find your favorite seasoning for chicken.
Marinating your chicken is key to juicy, tender, and tasty results. This simple method offers endless possibilities for flavor.

How to Cook Thin Chicken Breast in Oven
Cooking tender and delicious oven-baked chicken breast is easy with this simple recipe. It’s great for a quick weeknight meal or when you’re hosting guests. Baking thin chicken breast in the oven ensures juicy, flavorful results every time.
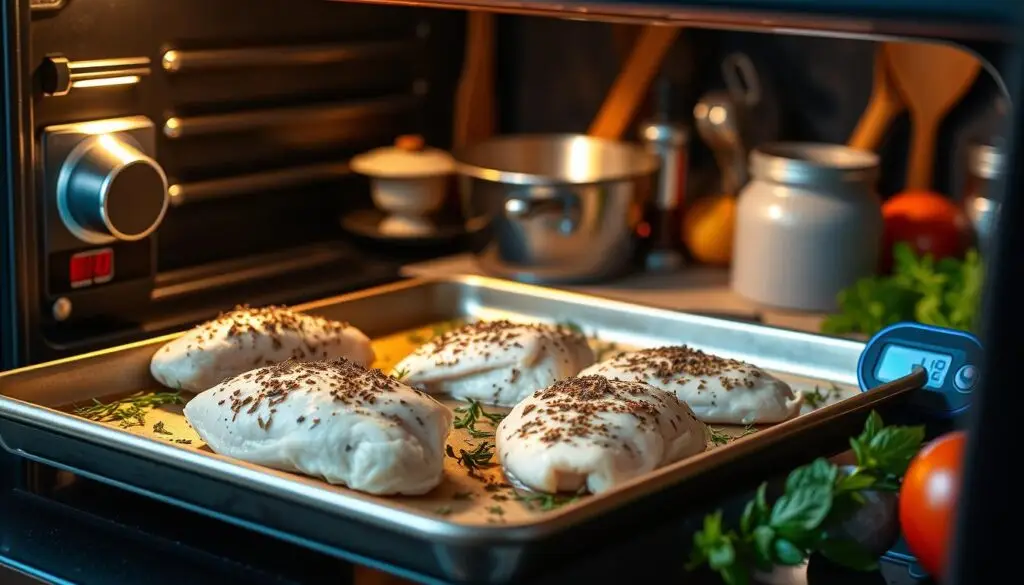
Start by preheating your oven to 400°F (205°C). This high temperature and short cooking time keep your chicken moist and tender. Place the seasoned chicken breasts on a lined baking sheet, making sure they don’t overlap.
Bake the thin chicken breasts for 10-12 minutes, or until the internal temperature reaches 165°F (74°C). This quick cooking process helps retain the natural juices and prevents the meat from drying out. Always use a meat thermometer to ensure your chicken is cooked to perfection.
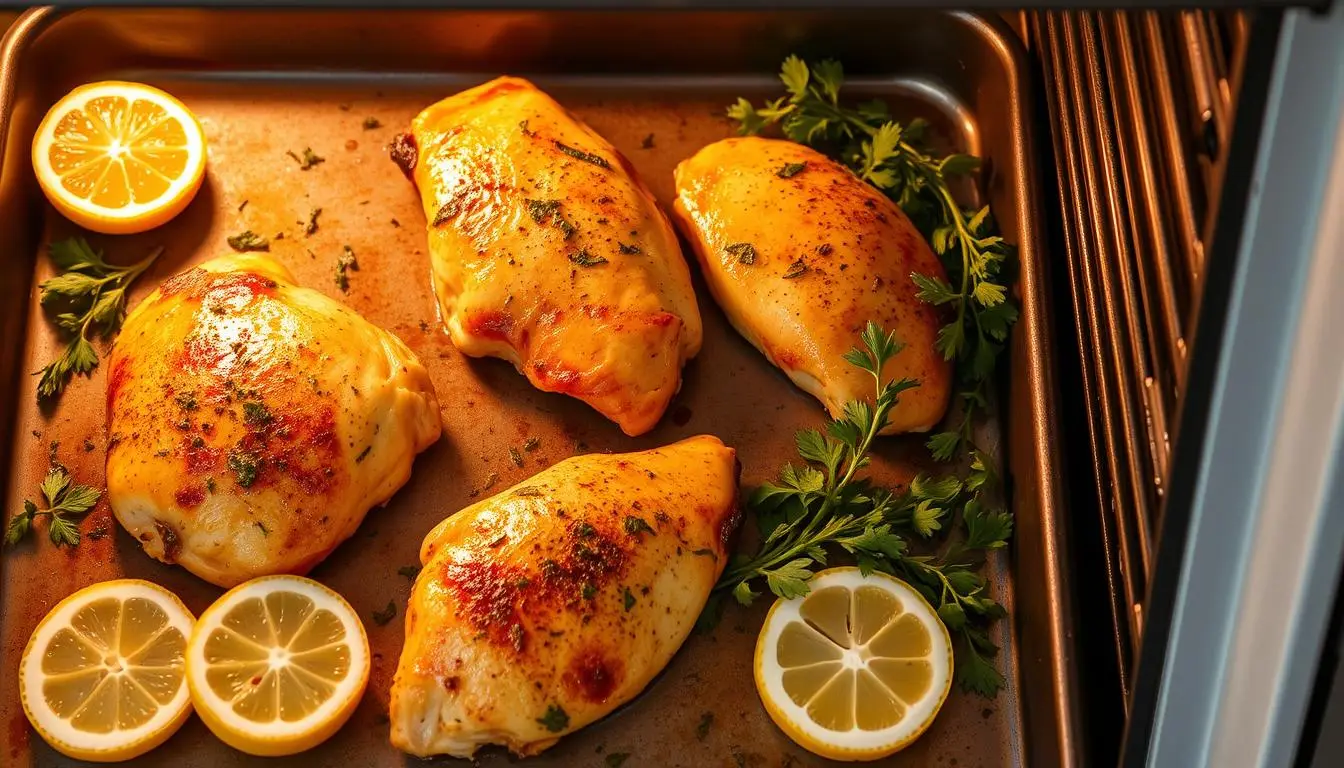
By following these simple steps, you can enjoy tender, flavorful baked thin chicken breast. It’s perfect for salads, wraps, tacos, and sandwiches. With this oven-baked chicken recipe, you’ll have a delicious and versatile protein option ready in no time.
“Cooking thin-sliced chicken breasts to an internal temperature of 165 degrees F is essential for safe consumption due to their variations in thickness.”
To enhance the flavor of your thin chicken breast, consider marinating it in your favorite marinade or seasoning blend before baking. This extra step can infuse the meat with delicious aromatics and tenderize the chicken for an even more satisfying texture.
| Ingredient | Quantity |
|---|---|
| Thin-Sliced Chicken Breasts | 1 lb (about 2 medium breasts) |
| Olive Oil | 2 tbsp |
| Salt | 1/2 tsp |
| Ground Black Pepper | 1/4 tsp |
| Garlic Powder | 1 tsp |
| Onion Powder | 1 tsp |
| Dried Basil | 1 tsp |
| Paprika | 1 tsp |
With this simple baking thin chicken breast technique, you can enjoy tender and flavorful chicken. It’s perfect for a variety of meals. Pair it with your favorite sides or incorporate it into your weekly meal prep routine for a hassle-free and nutritious protein option.
Temperature and Timing Guidelines
To cook thin chicken breasts perfectly in the oven, pay attention to temperature and timing. This ensures they turn out tender and juicy. Here’s what you need to do:
Optimal Oven Settings
Bake thin chicken breasts at 400°F (205°C) for the best results. This temperature cooks the chicken quickly. It seals in moisture and cooks the inside thoroughly.
Cooking Duration Chart
- At 350°F (175°C), cook for 15-20 minutes.
- At 375°F (190°C), cook for 12-15 minutes.
- At 425°F (218°C), cook for 8-10 minutes.
The cooking time depends on the chicken’s thickness. Thinner cutlets cook faster. Thicker pieces might need a few more minutes.
Internal Temperature Requirements
Chicken must reach 165°F (74°C) for food safety. Use a meat thermometer to check the temperature. Take the chicken out of the oven when it hits 160°F (71°C). This allows for carryover cooking to reach the safe 165°F (74°C) mark.

“Cooking thin chicken breasts to the proper internal temperature is crucial for food safety and achieving the ideal texture.”
Brining Process for Juicy Results
Brining your thin chicken breasts is a game-changer for moist and flavorful results. This simple process helps the chicken stay moist during cooking. Each bite will be tender and juicy.
To make the perfect brine, mix 1/4 cup of Morton’s kosher salt with 4 cups of cold tap water. Soak your chicken breasts in this solution for 30-60 minutes. Brining for longer can make the meat too salty.
After brining, rinse the chicken breasts well and dry them with paper towels. This step is key to prepare the chicken for cooking.
“Brining is such a simple trick, but it makes a world of difference in the texture and flavor of my chicken breasts. I’ll never go back to cooking them without this step.”
The benefits of brining are clear. The chicken brine keeps the meat moist, making the juicy chicken breast full of flavor. Try it, and you’ll see how it changes thin chicken breasts.
| Brine Recipe | Optimal Brining Time | Brine Temperature |
|---|---|---|
| 4 cups cold tap water + 4 1/2 tablespoons Morton’s kosher salt | 30-60 minutes | Cold tap water |
Perfect brining uses cold tap water and lasts 30-60 minutes. This way, your juicy chicken breast is seasoned well without being too salty. Enjoy the moist, flavorful results of this simple yet transformative technique.
Tips for Achieving Tender and Moist Chicken
Cooking thin chicken breasts can be tricky, but with the right methods, you can get tender and moist results. We’ll look at ways to keep chicken moist and how resting time helps. These tips will make your chicken breast and tips tender and juicy.
Moisture Retention Methods
To keep your moist chicken breast juicy, baste it with oil or butter before baking. This seals in moisture and helps it brown evenly. Also, use a meat thermometer to check the chicken’s internal temperature. This prevents overcooking, which can make the chicken dry and tough.
Resting Time Importance
After cooking your tender chicken tips perfectly, don’t cut into them right away. Let them rest for 5-10 minutes before serving. This allows the juices to spread evenly, making the chicken tender and moist.
Common Mistakes to Avoid
- Skipping the brining process: Brining the chicken before cooking helps maintain moisture and flavor.
- Not letting the chicken rest: Cutting into the chicken immediately after cooking can lead to the juices escaping, resulting in a dry texture.
- Cutting against the grain: Slicing the chicken with the grain can make the texture seem stringy. Cut against the grain for a more tender bite.
By following these key tips, you’ll get perfect moist chicken breast and tender chicken tips every time you bake.
| Cooking Parameter | Recommendation |
|---|---|
| Internal Temperature | 165°F |
| Oven Temperature | 425°F |
| Resting Time | 5-10 minutes |
| Refrigerator Storage | 3-5 days |
| Freezer Storage | Up to 2 months |
“The secret to perfectly moist and tender chicken is all in the technique. Follow these tips, and you’ll be a chicken cooking pro in no time.”
Storage and Meal Prep Recommendations
Proper techniques are crucial for chicken meal prep and storing cooked chicken. This ensures flavor, texture, and food safety. After baking your thin chicken breasts, it’s important to store them right to enjoy them all week.
To store cooked chicken, put it in an airtight container and refrigerate for up to 5 days. For longer storage, freeze the chicken. Slice or cube it and portion it out into freezer-safe bags or containers. Frozen chicken stays good for up to 3 months in a regular freezer or 1 year in a deep freezer.
Reheating stored cooked chicken is easy with the microwave. Heat it in 15-second intervals, stirring now and then. This gentle heating keeps the chicken juicy and tender, just like when you first baked it.
| Storage Method | Refrigerator | Freezer |
|---|---|---|
| Cooked Chicken | Up to 5 days | Up to 3 months (regular freezer) or 1 year (deep freezer) |
| Raw Chicken Breasts | N/A | Up to 2 months |
Proper storage of your cooked chicken makes it a convenient, nutritious protein for meal prep. Having tender, flavorful chicken ready for quick meals saves you time and effort.
Serving Suggestions and Pairings
There are countless ways to serve your perfectly cooked thin chicken breasts. These versatile pieces are great for many dishes and flavors. Whether you want a light salad or a hearty meal, you’ll find a perfect match.
Try topping a crisp Caesar salad with your baked chicken cutlets for a tasty lunch or dinner. The chicken’s juiciness complements the Caesar dressing, croutons, and Parmesan. You can also put the chicken in a wrap or sandwich for a convenient meal.
For a bigger dish, serve the chicken with fluffy rice or steamed veggies. The chicken’s mild taste goes well with many sides, like roasted broccoli and carrots, or a colorful quinoa salad. Pair it with creamy pasta or casseroles for a cozy meal.
For a fun twist, use the chicken in tacos, fajitas, or burrito bowls. Its versatility lets it blend with Mexican flavors like salsa, guacamole, and cheese.
When serving your oven-baked chicken breasts, let their natural flavors stand out. With a few simple sides, you can make many chicken dinner ideas and easy chicken meals that everyone will love.
Conclusion
Cooking thin chicken breasts in the oven is a great way to make tender, juicy, and tasty meals. By following the right steps, using the best seasonings, and cooking at the right temperature, you can make delicious, healthy thin chicken breast recipes. Your family will love them.
Thin chicken breasts cook fast and are perfect for quick dinners, meal prep, and healthy chicken dishes. They stay juicy and full of flavor, making them a great choice for healthy meals.
Whether you want a zesty garlic butter chicken, a crispy parmesan-crusted one, or a refreshing lemon herb grilled chicken, this guide has you covered. Thin chicken breasts are easy to work with and offer endless possibilities for tasty, nutritious meals at home.

