How to Cook Beef Ribs in the Oven
The smell of tender, juicy beef ribs is irresistible. It makes everyone’s mouth water. As a home cook, I’ve found that the oven is key to tender ribs. With a few tricks and patience, you can make amazing beef ribs that everyone will love.
Table of Contents
Key Takeaways
- Achieve tender, juicy beef ribs with a low and slow oven cooking method
- Utilize a flavorful dry rub to enhance the natural beefy taste
- Monitor internal temperature to ensure the ribs reach the perfect doneness
- Broil the ribs at the end to caramelize the BBQ sauce for a delicious finish
- Properly store and reheat leftover ribs for easy meal prep
Understanding Different Types of Beef Ribs
Choosing the right beef rib roast or barbecue beef ribs can make a big difference. Beef ribs come in many forms, each with its own special qualities. Knowing which one to pick for oven cooking is key.
Back Ribs vs. Short Ribs
Back ribs, or beef back ribs, come from the cow’s upper back, near the shoulders. They have meat between the bones, making them tender and flavorful. On the other hand, short ribs are from the lower rib cage. They have meat on top of the bones and are known for their rich, beefy taste.
Bone-in vs. Boneless Options
Boneless beef ribs are easier to portion and cook because the meat is separated from the bones. But, bone-in ribs offer more flavor and a traditional rib-eating experience. Bone-in ribs need longer cooking times to make the meat tender and the bones easy to separate.
Choosing the Best Cut for Oven Cooking
For oven cooking, both beef back ribs and short ribs are great choices. The slow cooking process tenderizes the meat and enhances the flavors. When picking your ribs, choose ones with good fat marbling. This keeps the meat moist and flavorful while roasting.
| Rib Type | Characteristics | Best Cooking Method |
|---|---|---|
| Back Ribs | Tender meat between the bones | Oven roasting, barbecue |
| Short Ribs | Rich, beefy flavor with meat on top of the bones | Braising, slow cooking, barbecue |
| Boneless Ribs | Easier to portion and cook | Oven roasting, grilling |
“Beef ribs have had a 3.7% 12-month menu penetration growth, while pork ribs have had a 4.1% growth.”
Essential Ingredients and Equipment
Cooking delicious beef ribs in the oven needs a few key ingredients and tools. At the center are the beef ribs, which can be back ribs or short ribs. You’ll also need a tasty BBQ seasoning blend to season them. Plus, a top-notch BBQ sauce is crucial for that sweet, tangy finish.
You’ll also need a big roasting pan or baking dish for the ribs. Aluminum foil is useful for wrapping the ribs while they cook. A quick-read thermometer is handy to check if the ribs are cooked just right.
But you can also try adding more ingredients to make your dish special. Think about using red wine, olive oil, soy sauce, brown sugar, flour, garlic, or curry powder. These can make your dish even more delicious.
“The secret to mouthwatering oven-baked beef ribs is in the careful selection of ingredients and the right equipment.”
With the right tools and a bit of creativity, you’ll soon be a pro at making oven-cooked beef ribs. Make sure to choose the best ingredients and follow the recipe well for the best taste.
Preparing Beef Ribs for the Oven
Before cooking your beef ribs in the oven, it’s crucial to properly prepare them. This step ensures the ribs cook evenly and develop a delicious, tender texture. Let’s dive into the key preparation techniques you should follow.
Removing the Membrane
The first step is to remove the thin, papery membrane (also known as the silver skin) from the back of the ribs. This membrane can become tough and chewy when cooked, so it’s important to remove it. Simply slide a knife under the membrane and gently peel it off in one piece.
Trimming Excess Fat
Next, take a look at the ribs and trim any large or excess pieces of fat. While some fat is necessary for flavor and juiciness, too much can make the ribs greasy. Aim to leave just a thin layer of fat on the ribs.
Patting Dry and Temperature Tips
Once the membrane is removed and the fat is trimmed, use paper towels to thoroughly pat the ribs dry. This will help the seasoning and rub adhere better. Additionally, allow the ribs to come to room temperature before cooking, as this promotes even cooking throughout.
By following these simple preparation steps, you’ll set the stage for perfectly cooked, tender and flavorful beef ribs in the oven. Stay tuned for the next section, where we’ll discuss creating the perfect dry rub to season your ribs.
Creating the Perfect Dry Rub
Take your baked beef ribs to the next level with a homemade dry rub. This blend of spices adds a savory, smoky, and sweet taste. The secret to a great dry rub is finding the perfect mix of spices.
Begin by combining 1/3 cup of brown sugar, 1 tablespoon of paprika, and 1 tablespoon of smoked paprika. Add 1.5 tablespoons of chili powder, 2 teaspoons of garlic powder, 1 tablespoon of kosher salt, and 1-2 teaspoons of black pepper. This mix will give your ribs a tasty dry rub to use a few hours before baking.
The dry rub can be kept in an airtight container for up to 2 weeks. Before baking, coat both sides of the ribs with the BBQ seasoning. This ensures the ribs are full of flavor and tender.
“The dry rub recipe for these ribs is so simple, yet the flavor is out of this world. I’ll never go back to store-bought homemade dry rub after trying this.”
With just a few minutes of prep, your baked beef ribs will become a flavorful dish. Everyone will want more. Try making your own BBQ seasoning and enjoy the tasty outcome.
Best Methods for Beef Ribs in Oven
To get perfect slow-roasted beef ribs in the oven, you need to balance temperature and time. A low and slow method helps bring out the ribs’ natural tenderness and flavor.
Low and Slow Technique
Start by heating your oven to 275°F (135°C). This low heat cooks the ribs slowly, making them tender and flavorful. Remember, patience is key for fall-off-the-bone ribs.
Temperature Control Guidelines
For the best results, aim for an internal temperature of 190°F to 200°F (88°C to 93°C) before glazing. This ensures the meat is tender and juicy.
Cooking Time Recommendations
Cooking time varies based on rib size and thickness. It can be from 2 hours and 45 minutes to 3 hours. For the ultimate tenderness, cook for up to 4 hours. Baste the ribs often to keep them moist.
| Preparation Time | Cooking Time | Servings | Calories per Serving |
|---|---|---|---|
| 10 minutes | 5 hours | 6 | 329 |
Slow-roasted beef ribs are a game-changer. They turn tough cuts into tender, delicious bites. With patience and the right temperature, you can make perfect slow-roasted beef ribs in your oven.
Wrapping and Moisture Control
Getting the right mix of tenderness and juiciness is crucial when cooking foil-wrapped beef ribs in the oven. To keep your ribs moist and full of flavor, try these important techniques.
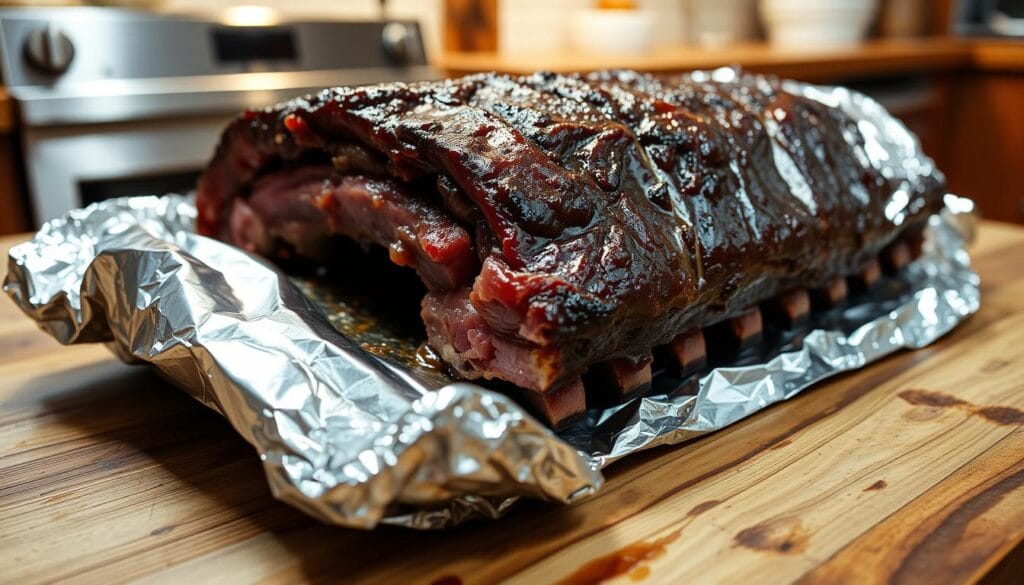
Begin by covering the ribs with heavy-duty foil during the first cooking phase. This keeps the natural juices and steam in, stopping the meat from drying out. To add more moisture, put a little water or beef broth at the bottom of the baking pan before sealing the foil.
After the ribs get a nice caramelized outside, usually after 2-3 hours of slow cooking, take off the foil. This step lets the final glazing and broiling create a delicious, moist beef ribs finish.
“The secret to juicy, foil-wrapped beef ribs is to watch the moisture levels all through cooking,” says Chef Dennis Littley. “Keeping the steam in early and then letting the meat brown for the last step gives you the perfect mix of tenderness and taste.”
By using this simple wrapping and unwrapping method, you can enjoy the full taste and succulence of perfectly cooked foil-wrapped beef ribs every time.

Adding BBQ Sauce and Glazing
As the beef ribs near their final stage of cooking in the oven, it’s time to add that signature barbecue flavor. Glazed beef ribs and BBQ beef ribs are the stars of this section. Here, we’ll explore the best techniques for applying sauce and achieving a caramelized finish.
When to Apply Sauce
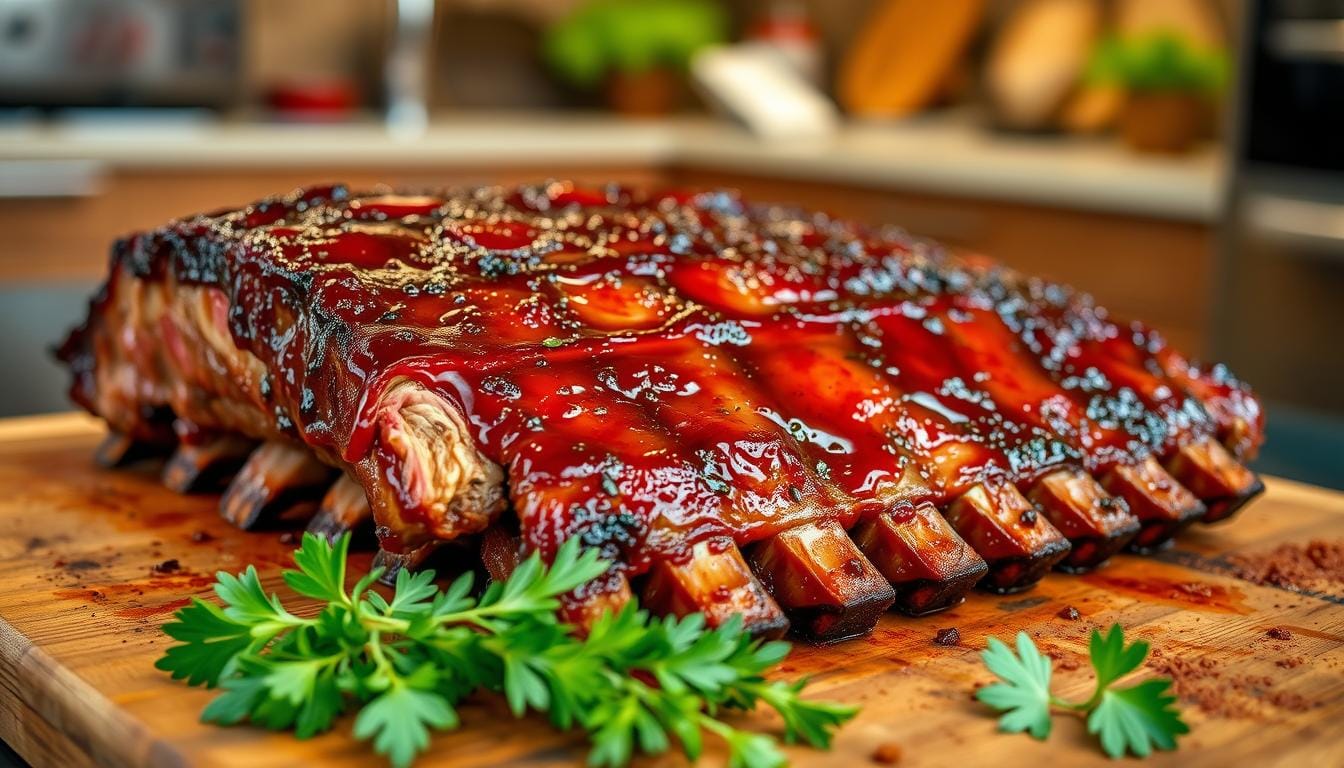
Apply the barbecue sauce towards the end of the cooking process, about 30-45 minutes before the ribs are fully cooked. This allows the sauce to caramelize and develop a delightful sticky-sweet glaze. Brush the ribs generously with your favorite sauce, making sure to coat all sides evenly.
Broiling Techniques
- For an extra crispy, caramelized finish, place the sauced ribs under the broiler for 4-5 minutes, keeping a close eye to prevent burning.
- You can also try experimenting with different sauce varieties, such as chipotle or hoisin, to create unique flavor profiles on your glazed beef ribs.
- Baste the ribs with the sauce a few times during the broiling process to ensure even coverage and maximum flavor.
Remember, the key to perfectly BBQ beef ribs is patience and attention to detail. By applying the sauce at the right time and utilizing the broiler, you’ll achieve a mouthwatering, caramelized exterior. This complements the tender, juicy meat inside.
Testing for Doneness
Getting the perfect doneness for your beef ribs is key. They should be tender, juicy, and full of flavor. Use a quick-read thermometer to check the ribs’ internal temperature.
The USDA says beef ribs should be between 190°F to 200°F (88°C to 93°C) for tenderness. At this temperature, the meat should pull away from the bone easily. But, it shouldn’t fall off completely unless you want it to.
Experts have different opinions on the best temperature for ribs. They range from 180°F to 200°F. The change from collagen to gelatin makes the ribs tender.
| Rib Doneness | Internal Temperature |
|---|---|
| Tender | 190°F to 200°F (88°C to 93°C) |
| Fall-off-the-Bone | 201°F to 210°F (94°C to 99°C) |
It’s important to check ribs with your eyes, touch, and a thermometer. Trusting your instincts and using a good meat thermometer are crucial. They help you get the ribs just right.
“Overcooking ribs can result in dry, stringy meat, so it’s advisable to slightly undercook them as they continue to tenderize during resting.”

Resting and Serving Tips
After your oven-baked beef ribs are perfectly cooked, let them rest before serving. This step is key. It makes sure the meat is tender and juicy in every bite.
Proper Resting Time
Beef ribs need 10-15 minutes to rest. This lets the juices spread evenly, so the meat stays juicy. Always rest meat for at least 1 minute for every 100 grams.
Slicing Techniques
When ready to serve, use a sharp knife to slice the ribs between the bones. This makes each piece easy to handle and shows off the tender meat.
Present your serving beef ribs with your favorite sides. Try baked sweet potatoes, corn on the cob, or coleslaw. The slicing beef ribs and the right sides will impress your guests with a delicious and beautiful dish.
Storage and Reheating Guidelines
Store leftover oven-roasted beef ribs in an airtight container in the fridge for up to 3 days. You can also freeze them for up to 3 months. To reheat, use the oven at 250°F to 350°F for 20-30 minutes until they’re hot.
To keep the ribs moist, add beef broth or water to the container. This keeps them juicy and flavorful. You can also reheat them on the stovetop or in the microwave, but be careful not to overcook.
Always check the ribs’ internal temperature when reheating. Make sure it reaches at least 165°F (74°C) for safety. With proper care, you can enjoy your beef ribs for a long time.

